Configuring Token Authentication
This guide requires an Anka Enterprise or Enterprise Plus license.
There are several license specific differences that should be noted before you begin:
- Enterprise: By default, any secrets generate and use (root or user) always have full access to the API.
- Enterprise Plus: By default, only the root token (RTA) has full access to the API. User tokens must be created with a group attached and permissions added for the group.
Starting in 1.19.0 of the Anka Build Cloud, there are two token based options for securing the communication with the Build Cloud Controller & Registry:
Setting the Root Token, protecting the Controller UI + API and Registry API.
Generate an RSA priv/pub key which is then used to request a temporary auth session in a client. These sessions (TAP) allow access to the API to perform various tasks.
We recommend disjoining all but one node. One node must stay joined to ensure the Build Cloud has the proper license attached. You can rejoin it later once you’re configured and you’ve rejoined all of your other nodes.
Protecting your cloud with RTA (Root Token Auth)
Enabling root token authentication is a simple process. The root user has what we call “superuser” (full) access to the controller, API (basic auth), etc.
How to configure RTA
MacOS Package
Edit /usr/local/bin/anka-controllerd and add:
export ANKA_ENABLE_AUTH="true"
export ANKA_ROOT_TOKEN="{min10chartoken}"
The macOS package has no way to set tokens or auth for either the controller or registry. It will be enabled for both if the ENV is set to true.
The root token must be at least 10 characters long.
Linux/Docker Package
With our docker package, each service is split up into its own container. You can enable a root token for either the controller, registry, or both.
Edit the docker-compose.yml and add both ANKA_ENABLE_AUTH and ANKA_ROOT_TOKEN environment variables:
. . .

anka-controller:
   build:
      context: .
      dockerfile: anka-controller.docker
   ports:
      - "80:80"
   volumes:
     # Path to ssl certificates directory
     - /home/ubuntu:/mnt/cert
   depends_on:
      - etcd
   restart: always
   environment:
     ANKA_ENABLE_AUTH: "true"
     ANKA_ROOT_TOKEN: "1111111111"
     # ANKA_ENABLE_API_KEYS="true"

anka-registry:
   build:
      context: .
      dockerfile: anka-registry.docker
   ports:
      - "8089:8089"
   . . .
   environment:
     ANKA_ENABLE_AUTH: "true"
     ANKA_ROOT_TOKEN: "1111111111"
     # ANKA_ENABLE_API_KEYS="true"
. . .
RTA is required in all of our Auth features. If you decide to not enable auth for the registry but keep it on for the controller, you cannot enable RTA for the registry.
Testing RTA
If everything is configured correctly, you can visit your Controller Dashboard and a login box should appear.
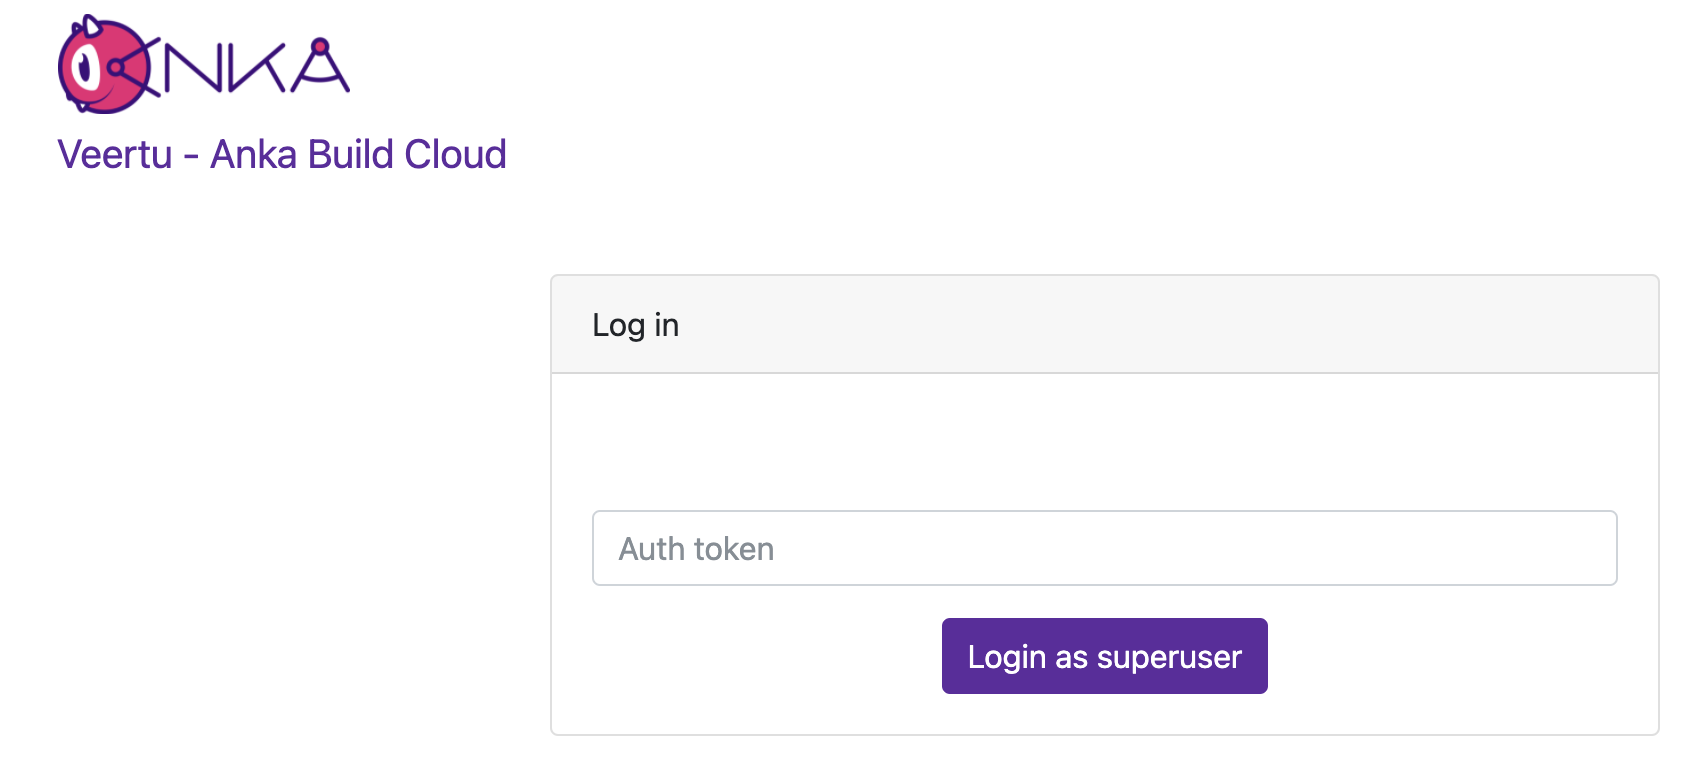
Enter the token you specified and ensure that it logs you in.
Finally, you can test the API using:
❯ curl -H "Authorization: Basic $(echo -ne "root:1111111111" | base64)" http://anka.registry:8089/registry/status
{"status":"OK","body":{"status":"Running","version":"1.19.0-309d8150"},"message":""}
Enabling RTA will block any access to the UI and API for Anka Nodes joined to the primary interface/port for the controller. Instead, you can expose a queue only interface instead which can be used to join your nodes.
Protecting your cloud with UAK (User API Keys)
How to configure UAK
Follow the same instruction from the above root token section, but also include
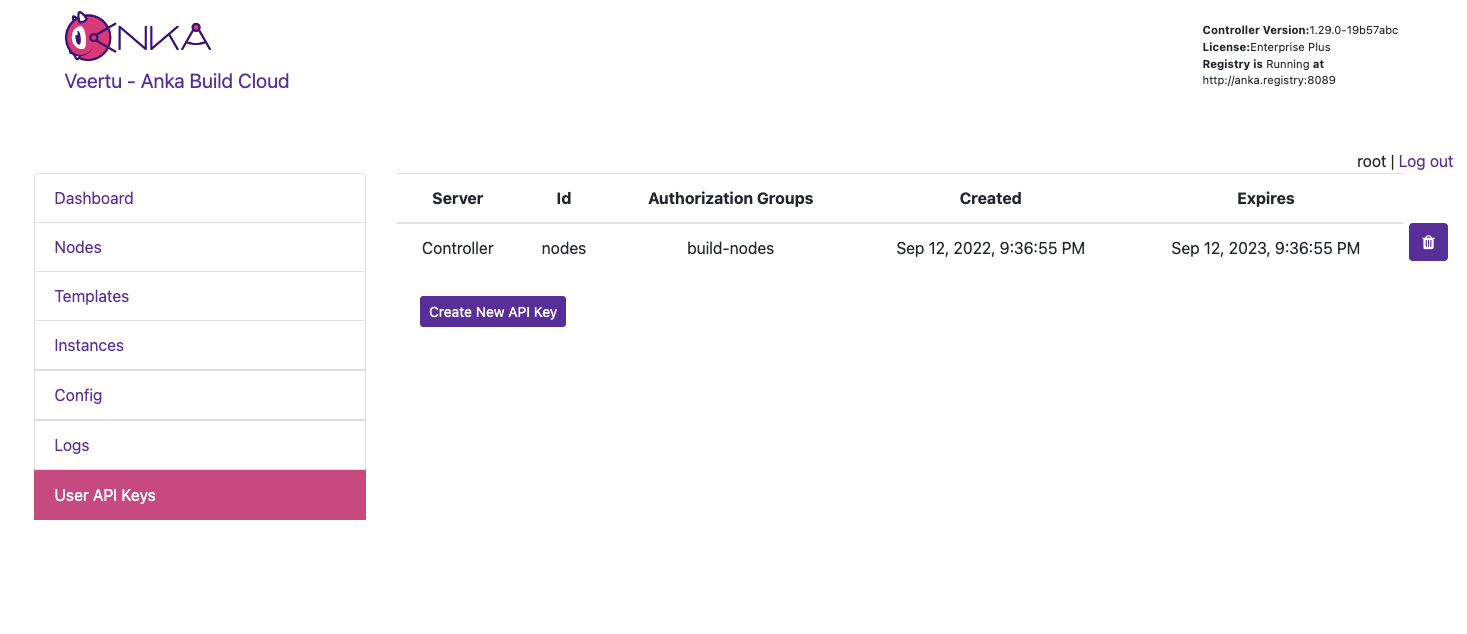
ANKA_ENABLE_API_KEYSset totrue.Use the Controller’s User API Keys UI panel or API to generate a user key for the controller and also the registry. KEEP THESE SECRET.
- You can now use the key and ID to communicate with the Controller and/or Registry through the
ankacluster joincommand,anka registry(only Anka version 3.1 or higher), or in your client (through a TAP session/token) to the APIs.
Each UAK can have one or more TAP generated sessions. This means you can generate a single UAK for a single piece of software which is deployed multiple times, and each software instance will get its own TAP generated session, independent from the others, but using the same key. An example of this is having a single UAK for all of your Anka Nodes to use when joining.
Joining Nodes with your UAK
Once you have the UAK key generated from Step 2 (above), you can use it to join the Anka Node.
❯ sudo ankacluster join http://anka.controller:8090 --groups "gitlab-test-group-env" --reserve-space 10GB --api-key-id "nathan" --api-key-string "$ANKA_API_KEY_STRING"
I0920 15:31:15.008778   77147 factory.go:75] Default http client using API Key authentication
Testing connection to the controller...: Ok
Testing connection to the registry...: Ok
Success!
I0920 15:31:37.300568   77147 factory.go:75] Default http client using API Key authentication
Anka Cloud Cluster join success
At the moment the ankacluster command does not support ENVs.Instead of passing the private key as a string (--api-key-string), you can specify the path to the key file with--api-key-file.
Controller and Registry communication with your UAK
There are several important points to know about Controller -> Registry communication when using UAKs.
- The Controller UI will use the same credentials that you use when logged into the UI to make Registry calls for Templates, Logs, and status.
- However, starting VM instances does not use your UI session. You need to give a credential to the Controller to use.
- If you’re using
ANKA_LOCAL_ANKA_REGISTRYand have it set to :8085, credentials are not needed to communicate with the Registry. This is useful if the Controller and Registry are in the same Kubernetes pod or Docker network and auth is not important. - If you’re using
ANKA_LOCAL_ANKA_REGISTRYand it’s set to the external/public port (defaults to :8089), the Controller needs access to call the Registry but is gated byANKA_ENABLE_AUTH: "true". In order to allow the Controller communication access, you need to specify theANKA_API_KEY_IDandANKA_API_KEY_STRING(or_FILE) ENVs described in the Configuration Reference.
- If you’re using
Permissions (see below) are still respected, regardless if you use 8085 or the public port.
Token Authentication Protocol (TAP)
This communication protocol is for user authentication using asymmetric encryption. You’ll use this if you plan on making calls using an Authorization: bearer header to the API. The API is separate from the usual /api/v1/.
- OpenSSL >= 3.x is required (macOS defaults to 2.x). The example below will install openssl 3 with brew and set it in the PATH ENV.
- We highly recommended enabling HTTPS.
- Base64 uses safe url encoding.
- Key length is 2048, Hashing algorithm SHA256, OAEP padding.
- Private key format is PEM PKCS#1.
- Public key format is PKIX, ASN.1 DER.
Authentication flow
- You’ve generated a UAK and it’s stored on the Controller and/or Registry with some unique identifier.
- Your client sends the first phase of the authentication:
POST /tap/v1/hand -d '{"id": "<API-KEY-USER-ID>" }'(doesn’t need auth to communicate with). - The server generates a random string, encrypts it with the client’s public key that is has stored, encodes it in base64, and passes it back to the requesting client in the response body.
- Your client then decodes and decrypts the response using the UAK private key it has available locally, and then sends the second phase of the authentication with the decoded string as
SECRET-STRING:POST /tap/v1/shake -d '{"id": "<API-KEY-USER-ID>", "secret": "<SECRET-STRING>" }'
By default, the secret is valid for 3 minutes. Also, you can only call /tap/v1/shake once for a secret after which it will become invalid.
The server then successfully authenticates the client and returns the following object (base64 encoded) in the response body:
{ "id": <API-KEY-USER-ID>, "data": <GENERIC-OBJECT> }You then take the contents of
datain the response, base64 it, and use it in your Authorization: Bearer header for API calls.
The data object should look like
{
  "userName": <USER-IDENTIFIER>
  "sessionId": <SESSION-ID>
  "token": <SESSION-TOKEN>
}
An example of the entire flow using BASH and CURL:
❯ brew install openssl
❯ export PATH="/usr/local/opt/openssl@3/bin:$PATH"

❯ ls nathan-*pem
nathan-key.pem nathan-pub.pem

❯ echo -n $(curl -s http://anka.controller:8090/tap/v1/hand -d '{"id": "nathan"}') | base64 -d > to_decrypt

# You have 10 seconds after obtaining the /hand token to shake. Otherwise, you will see an error thrown due to expiration.

❯ openssl pkeyutl -decrypt -inkey nathan-key.pem -in to_decrypt -out decrypted -pkeyopt rsa_padding_mode:oaep -pkeyopt rsa_oaep_md:sha256

❯ cat decrypted
59A8Zb8XxtsBNpJ-1KYFKOzQfv8

❯ curl -s http://anka.controller:8090/tap/v1/shake -d "{\"id\": \"nathan\", \"secret\": \"$(cat decrypted)\" }"
{"id":"nathan","data":{"userName":"nathan","token":"XtACTPdOC_vF03s75EWSGunMGCDiU2aBIe97Pai0ruRDjhNpPZqg2w","sessionId":"34c06a2b-141a-434a-5313-a06788f20957"}}

❯ echo '{"id":"nathan","data":{"userName":"nathan","token":"6Z8JVhdo8MNUUHmFVy0bgjoSuiVJAsNYsqTdpqklqYv7j7xlJo6c2w","sessionId":"6dc7bd5e-a4b4-4c99-4b2e-c299fc101dc0"}}' | jq -r '.data' | base64
ewogICJ1c2VyTmFtZSI6ICJuYXRoYW4iLAogICJ0b2tlbiI6ICI2WjhKVmhkbzhNTlVVSG1GVnkwYmdqb1N1aVZKQXNOWXNxVGRwcWtscVl2N2o3eGxKbzZjMnciLAogICJzZXNzaW9uSWQiOiAiNmRjN2JkNWUtYTRiNC00Yzk5LTRiMmUtYzI5OWZjMTAxZGMwIgp9Cg==

❯ curl -s http://anka.controller:8090/api/v1/status
{"status":"FAIL","message":"Authentication Required"}

❯ curl -sH "Authorization: Bearer ewogICJ1c2VyTmFtZSI6ICJuYXRoYW4iLAogICJ0b2tlbiI6ICI2WjhKVmhkbzhNTlVVSG1GVnkwYmdqb1N1aVZKQXNOWXNxVGRwcWtscVl2N2o3eGxKbzZjMnciLAogICJzZXNzaW9uSWQiOiAiNmRjN2JkNWUtYTRiNC00Yzk5LTRiMmUtYzI5OWZjMTAxZGMwIgp9Cg==" http://anka.controller:8090/api/v1/status
{"status":"OK","message":"","body":{"status":"Running","version":"1.25.0-b2a027a4","registry_address":"http://anka.registry:8089","registry_status":"Running","license":"enterprise plus"}}
You have 10 seconds after obtaining the /hand token to shake. Otherwise, you will see an error thrown due to expiration.
By default, the TTL for keys is 5 minutes. You can modify this with the ANKA_API_KEYS_SESSION_TTL, set in the Controller and Registry configs. The TTL however will not cause long running requests, like downloads, to be interrupted.Managing User/Group Permissions (Authorization)
UAK users:
- You can set groups for each api key or use the API Key ID as the “username” and create individual permissions for them.
- Note for Enterprise Plus customers using OpenID and UAK: Typically, Authorization is enabled with the
ANKA_ENABLE_CONTROLLER_AUTHORIZATIONand other similar ENVs. However, when using your Ent+ license with OpenID and UAK, you will always need to add permissions for the groups claim you set in your OpenID configuration. Otherwise, you’ll see a blank Controller UI and API requests will fail.
By default, ANKA_ENABLE_AUTH will not use authorization/permissions and allow any certs or users to connect to all API endpoints and pages in the UI. In order to enable Authorization, you will need to include specific ENVs in your config:
ANKA_ENABLE_CONTROLLER_AUTHORIZATIONworks for both combined and standalone (docker) packages.ANKA_ENABLE_REGISTRY_AUTHORIZATIONis for the combined (controller + registry in one binary) package only.ANKA_ENABLE_AUTHORIZATIONis only for the standalone registry package.
Permission groups are configurable from your Controller’s https://<controller address>/admin/ui page. You can target and add permissions for either the group name or the username (which is different between the various Advanced Security Features we offer).
This feature requires Enterprise Plus. The regular enterprise license automatically adds all permissions to each certificate or token that is used and gives no control over them.
This also requires that you’ve enabled Root Token Authentication, giving you super user access to the controller UI and permissions.
The permission groups here differ from the groups you assign to nodes within the Controller UI.
The Available Permissions list will display all of the permissions we can assign to the group (see below for the full list). These permissions will allow plugins/users (like Jenkins) to communicate with the Controller & Registry:
Minimum Recommended Permissions
get_groupsget_registry_disk_infolist_imageslist_nodeslist_vmssave_imagestart_vmterminate_vmupdate_vmview_logs
Controller Permissions
| Permission | Description |
|---|---|
| Instances | |
list_vms | gives the user permission to list vms |
start_vm | gives the user permission to start vm |
terminate_vm | gives the user permission to terminate vm |
| Registry | |
get_registry_files | gives the user permission to get registry files (logs) |
view_logs | gives the user permission to view log files in dashboard |
get_registry_disk_info | gives the user permission to get registry disk info |
registry_list | gives the user permission to list vms on registry |
registry_delete | gives the user permission to registry delete |
| Nodes | |
list_nodes | gives the user permission to list nodes |
delete_node | gives the user permission to delete node |
change_node_config | gives the user permission to change node configuration |
| Node Groups | |
create_group | gives the user permission to create node groups |
get_groups | gives the user permission to view node groups |
delete_group | gives the user permission to delete node groups |
update_group | gives the user permission to update node groups |
add_node_to_group | gives the user permission to add a node to a node group |
remove_group_from_node | gives the user permission to remove a node from node group |
| Distribute VMs | |
registry_distribute | gives the user permission to distribute vms from registry |
registry_distribute_status | gives the user permission to view distribution statuses |
| Config | |
change_config | gives the user permission to change global configuration |
get_config | gives the user permission to view global configuration |
| Permissions and groups | |
view_permissions | gives the user permission to view the list of available permissions |
view_prmission_groups | gives the user permission to view permission groups |
update_permission_groups | gives the user permission to update permission groups |
delete_permission_groups | gives the user permission to delete permission groups |
Registry Permissions
| Permission | Description |
|---|---|
| Information about Registry | |
index | gives the user permission to view the registry index (welcome html file) |
get_disk_info | gives the user permission to get disk info |
| List VMs | |
list_vms | gives the user permission to list vms |
| Push VMs | |
head_push_vm | gives the user permission to “negotiate” a push (understand which files exists on the server and which files need to be sent) |
push_vm | gives the user permission to push vm and create new vms or tags |
| Pull VMs | |
pull_vm | gives the user permission to get a pull vm request (list of files needed for download and their paths) |
download_vm | gives the user permission to download vm files (as given by pull_vm) |
| Delete VMs | |
delete_vm | gives the user permission to delete a vm |
revert | gives the user permission to revert vm versions |
| File Server | |
upload_file | gives the user permission to upload a file |
download_file | gives the user permission to download a file |
| Log Server | |
get_streamer | gives the user permission to get an html streamer page (for logs) |
stream_log | gives the user permission to stream a log file (as given by get_streamer) |
get_log_archive | gives the user permission to download a log archive (tar.gz) |
send_log_event | gives the user permission to send log events (only applies specifically to eventLog) |
send_log | gives the user permission to send a log file row |
| Permissions and groups | |
view_permissions | gives the user permission to view the list of available permissions |
view_prmission_groups | gives the user permission to view permission groups |
update_permission_groups | gives the user permission to update permission groups |
delete_permission_groups | gives the user permission to delete permission groups |